
How to Test Electrical Resistance
Electrical resistance, measured in ohms, is an object’s ability to resist the flow of electric current. Electrical resistance tests can be done to determine if a resistor is functioning properly, or on a myriad of objects. Before we learn how to test electrical resistance, it is important to note that you should never try an electrical resistance test on a live object or circuit.
An electrical resistivity test on any source of significant voltage will likely damage your multimeter and can cause physical harm. Our team is here to teach you how to test electrical resistance in a safe and proper way. Learn more about electrical resistivity tests below!
Electrical Resistance Test: Analog Multimeter
No matter what type of equipment you use, electrical resistivity tests follow the same basic principle. By placing voltage into the two probes, a current will flow through the tested object. Measuring the amount of voltage that reaches from one end to the other indicates the electrical resistance an object or resistor has.
Before you conduct an electrical resistance test with an analog multimeter, it must be zeroed. This is done by connecting the two probes and creating a short circuit. Then, with the “zero” control, full-scale deflection or zero ohms can be given.
The following steps will show you how to conduct an electrical resistivity test with an analog meter:
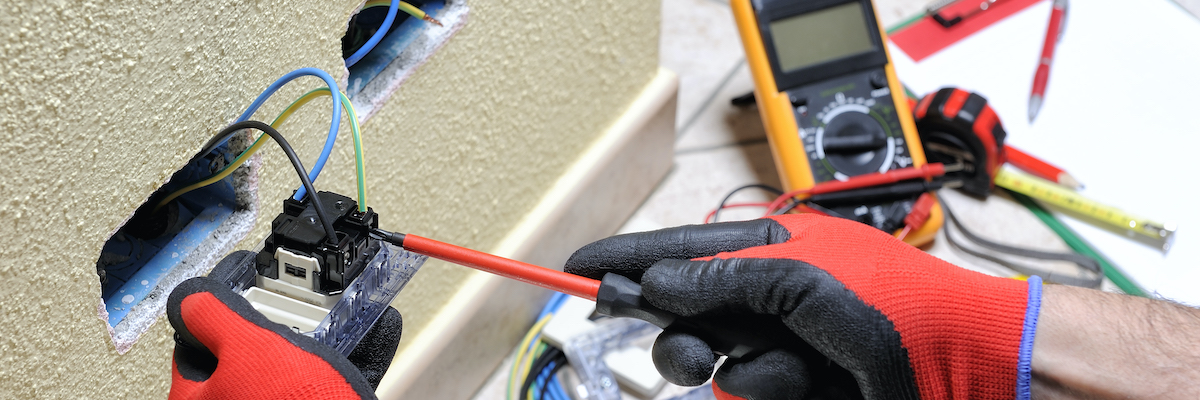
- Insert your probes into the correct sockets. Generally, one will be labeled as COM for common and the other will be denoted by the ohms symbol (R or Ω).
- Select the appropriate range. To get the most accurate measurement, select the range that is close to, but not more than the estimated resistance value of the object.
- Zero the meter as described above. This must be done every time the range is changed.
- Apply the probes to the item to make the measurement. The range can be adjusted as needed.
Electrical Resistance Test: Digital Multimeter
While analog meters are generally reliable and inexpensive, zeroing can be cumbersome and inefficient. Tests with a digital multimeter are easier and quicker, and can be done by following these steps:
- Select the item that needs to be tested.
- Insert the probes into the required socket. Like an analog meter, the correct sockets must be used. Insert the black probe into the COM socket and the red one into the ohms or voltage socket.
- Select the proper range for your test based on the estimated value of resistance of the object. Choose a range that is close to, but does not exceed the maximum.
- Make the measurement. If the reading displays 1 or OL, you have to increase the range. If the reading shows 0.00, then you must lower the range to test.
Turn to Gateway Cable Company for Your Next Project
Looking for more information on electrical resistance testing? Contact Gateway Cable Company to discuss your next project. We offer a wide range of electrical equipment that is proudly made here in the U.S.A. No matter what your electrical needs are, Gateway Cable Company can provide the insight and tools you need to get the job done right. Request a quote today to get moving on your next project.