Positive vs. Negative: How to Diagram and Wire a Capacitor

If you’ve ever installed an upgraded car audio system, you’ve probably seen diagrams for a capacitor. This shows you how to wire a capacitor. Did you know there are different types of capacitors, all with different capacitor connections? Only one type is polarized, and that’s the electrolytic capacitor. They’re more expensive compared to non-polarized ones and have to be installed in a specific direction to ensure proper function. If you correctly diagram this capacitor, you’ll be able to power a strong electrical system because you’ll have a higher charge. Let’s show you how to diagram a capacitor and understand how to tell positive and negative apart, shall we? We’ll also tell you capacitor polarities and positive vs. negative on a capacitor.
What Is a Capacitor?
A capacitor is an electrical component that stores electrical energy in a field. It’s a passive electric component that has two terminals, positive vs. negative on a capacitor. This is also known as the capacitor connection. This device is made up of two conductors separated by a vacuum or electrical insulator known as a dielectric. The dielectric can be glass, air, paper, plastic, or ceramic. When you wire a capacitor, it can be used in the following ways:
- Car amplifiers. Capacitors are used to store energy and release it to the output signal. This helps to smooth out the output signal and make it more accurate. If you’ve ever installed larger speakers or subwoofers, the audio system draws on energy from the capacitor when larger amounts of amps are in use.
- Oscillators. Radios and clocks use oscillators to create a periodic output signal.
- Filters. Capacitors are used in filters to remove unwanted frequencies from an input signal. This is used in audio amplifiers and power supplies.
- Rectifiers. In rectifiers, capacitors store energy from an AC and release it to a DC current. This is used in multiple power supplies and solar cells.
- Power supplies. Capacitors are used in power supplies to store energy and release it to the output circuit. This smooths out the voltage and makes it more stable.
Properly Diagramming a Capacitor
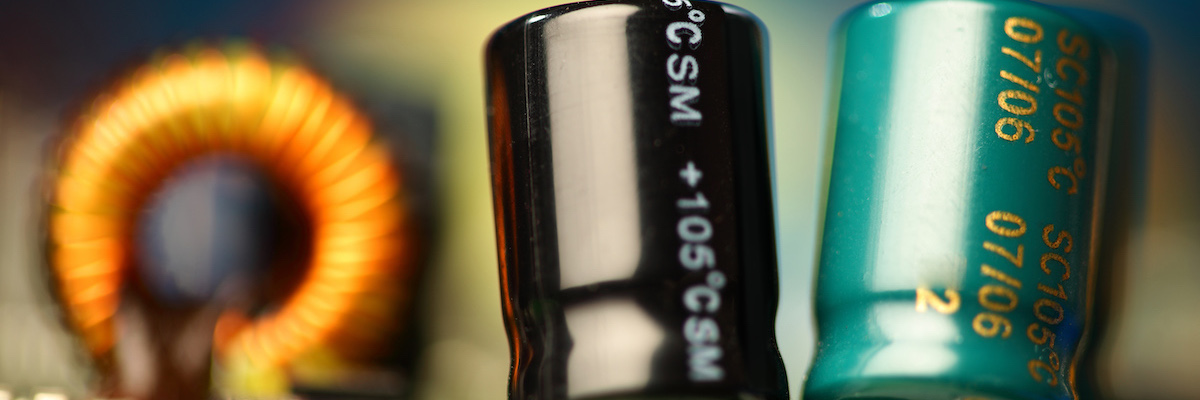
When you connect live voltage to an electrolytic capacitor’s terminals, you need the correct polarity or the capacitor’s oxide layer will be damaged. Having the capacitor polarity wrong means you’ll cause substantial current flow and the destruction of the capacitor. How do you tell positive vs. negative on a capacitor? With a capacitor connection, most have a clear marking. It’s a black stripe on the negative side with arrows or chevrons to deter incorrect connections. If your capacitor is unmarked, there will be an indented ring around the positive end.
How to Wire a Capacitor
A car audio capacitor is considered a polarized capacitor, and it must be wired properly to avoid damage. Use the following steps to learn how to wire a capacitor for your audio system in your car, truck, or SUV.
- Selecting a Mounting Location: Choose a secure and accessible location within your vehicle to mount the capacitor. Consider proximity to the amplifier and the battery for efficient wiring.
- Disconnect the Battery: For safety, disconnect the vehicle’s battery to prevent electrical accidents during installation.
- Mounting the Capacitor: Securely mount the capacitor using self-tapping screws. Ensure a firm attachment to prevent vibrations and potential damage.
- Wiring the Power Cable: Connect the positive (red) power cable from the capacitor to the positive terminal of the vehicle’s battery. Use an appropriate fuse close to the battery to protect the system.
- Grounding the Capacitor: Attach the capacitor’s negative (black) cable to a solid ground point on the vehicle’s chassis. Ensure a clean metal-to-metal connection for optimal performance.
- Connecting to the Amplifier: Use a separate, appropriately sized power cable to connect the capacitor to the amplifier’s positive terminal. Attach the negative cable to the amplifier’s ground.
- Charging the Capacitor: Reconnect the vehicle’s battery and allow the capacitor to charge. This is typically indicated by a gradual rise in voltage on the capacitor’s display.
- Fine-Tuning the System: Adjust the voltage settings on the capacitor, if applicable, to match the specifications of your audio system. Consult the capacitor’s manual for guidance.
Find the Components You Need at Gateway Cable Company
Need assistance with finding the right capacitor? Gateway Cable Company can help you with all your capacitor polarity questions. Positive vs. negative on a capacitor is one of the many areas of expertise we specialize in. Contact us to get the facts on polarized and non-polarized capacitors. We’re also a reliable source for other electrical components; for instance, we can help you with twisted pair cables and terminal blocks.
