
How to Test Cables with a Multimeter
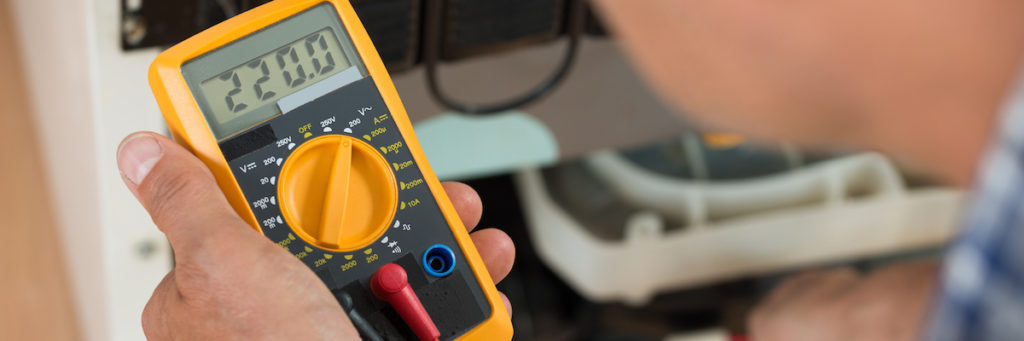
What is a multimeter? It’s a multifunctional device that measures electronics and electrical components and can perform a variety of tests without requiring that users buy another unit. Essentially, it’s an amalgam of an AC/DC voltmeter, ammeter, and ohmmeter, so it can be used to measure voltage, current measured in amperes, and resistance. Wondering how to test a cable with a multimeter? Gateway Cable Company can help! Read on for a quick guide to checking the resistance of your cables.
Why Test With A Multimeter?
Multimeters can:
- help to identify problems with cables. If a cable is broken or has a short, it can cause problems with electrical equipment. Testing cables with a multimeter can help to identify these problems so that they can be repaired.
- help to prevent electrical accidents. Electrical accidents can be caused by faulty cables. Testing cables with a multimeter can help to identify faulty cables so that they can be replaced.
- help to improve the reliability of electrical systems. By testing cables regularly, you can help to ensure that they are in good condition and that they will not cause problems in the future.
Tip to Tip Test
- Set the multimeter to resistance (ohms/Ω) and a select a small scale.
- Choose a flat wooden surface on which to perform the test. Position both of the cable’s plugs on the table.
- Use the probes to touch the tips of the plugs. Place the red probe on one tip and the black probe on the other.
Ideally, the reading should be about one ohm, but two or three ohms is allowable. If one of your cables gets a higher reading, however, you’ll want to check its conductors and their connections to the terminals in the plugs.
Sleeve to Sleeve Test
- Turn the multimeter’s dial to resistance and choose a small scale.
- Place the cable and its plugs on a flat wooden surface.
- This time, check the sleeves, i.e. the longer parts of the plug.
- Use the probes to hold the plug sleeves down — red on one plug and black on the other.
Readings should be identical to the readings you received when testing the cable tip to tip. Again, if the cable’s reading is higher than three ohms, double-check the conductors and whether or not they make contact with the terminals in the plugs.
Tip to Sleeve Test
- Turn the multimeter’s dial to resistance and select a small scale.
- Place the cable and its plugs on a flat wooden surface.
- Place one of the multimeter’s probes on the tip of plug A and place the second probe on the sleeve of plug B.
In this case, resistance should be infinite. The multimeter shouldn’t give an ohm reading at all.
Tricks & Tips for Testing With A Multimeter
Here are some additional tips for testing cables with a multimeter:
- Make sure that the multimeter is set to the correct setting.
- Touch the probes of the multimeter to the end of each wire in the cable.
- Do not touch the probes of the multimeter to each other.
- Disconnect the power from the circuit before testing the cables.
By following these tips, you can help to ensure that you are testing the cables correctly and safely.
Learn More from Gateway Cable Company!
Do you have additional questions about how to test a ribbon cable with a multimeter or how to test an RCA cable with a multimeter? Or maybe you’re curious about how to test voltage in a hook-up wire, how to test a fuse, or how to install an in-line fuse? Contact us at Gateway Cable Company or get a quote online! We offer a wide selection of high-quality cables, including slave cables and MIL-SPEC components, for a range of operations.